


Measure and cut the piece of wire. Now onto the second piece of wire shaping


and cuttings . Now you are ready to solder . On each piece make sure the wire ends butt up against each other with no gaps showing if you can see light through the gap , go file them up nice and straight and check them again. Go ahead and do both pieces like this. Now place both pieces on the soldering block and apply flux and solder with hard solder.
This is the time where you must bow down to the solder gods to let it flow and melt or fry your wire. Just kidding but I always do a little solder dance afterwards that is really important to do. Now get out your clean up gadgets and get started making all smooth with no bumps this is a good time to straighten up any wommpies on your wire using the coated pliers, you can look at old jewelry zines, reference books look at online jewelry artists to see where the placements of prong should be used, this however is just for interest because your piece is your original piece , your cab may be irregular in shape , a fossil, anything so you will have to figure out what will work for you and your design , this is also a good time to figure out if it's a pendant like mine how to attach a bail , what kind of bail to use . For our next part if you can get a charcoal block or a soft fire brick , you can order them from Jff in Atlanta I will be happy to give you their number 770-455-1871 They are a jewelry supplier and just mention that you want a soft soldering brick and they will know what you want, they are very inexpensive and I love them for this technique.
I hope you have enjoyed part one of the technique of prong settings part two is being created as we speak so its coming up soon, If you should have question please email me Nancy4133@gmail .com. I do not pretend to be an instructor just a girlie who shares what she learns with others hopefully this will help you I hope you enjoy .
3 comments:
I love it, I am following your blog and i am going to make this damn thing if it's the last damn thing i do! :)
Terry jane
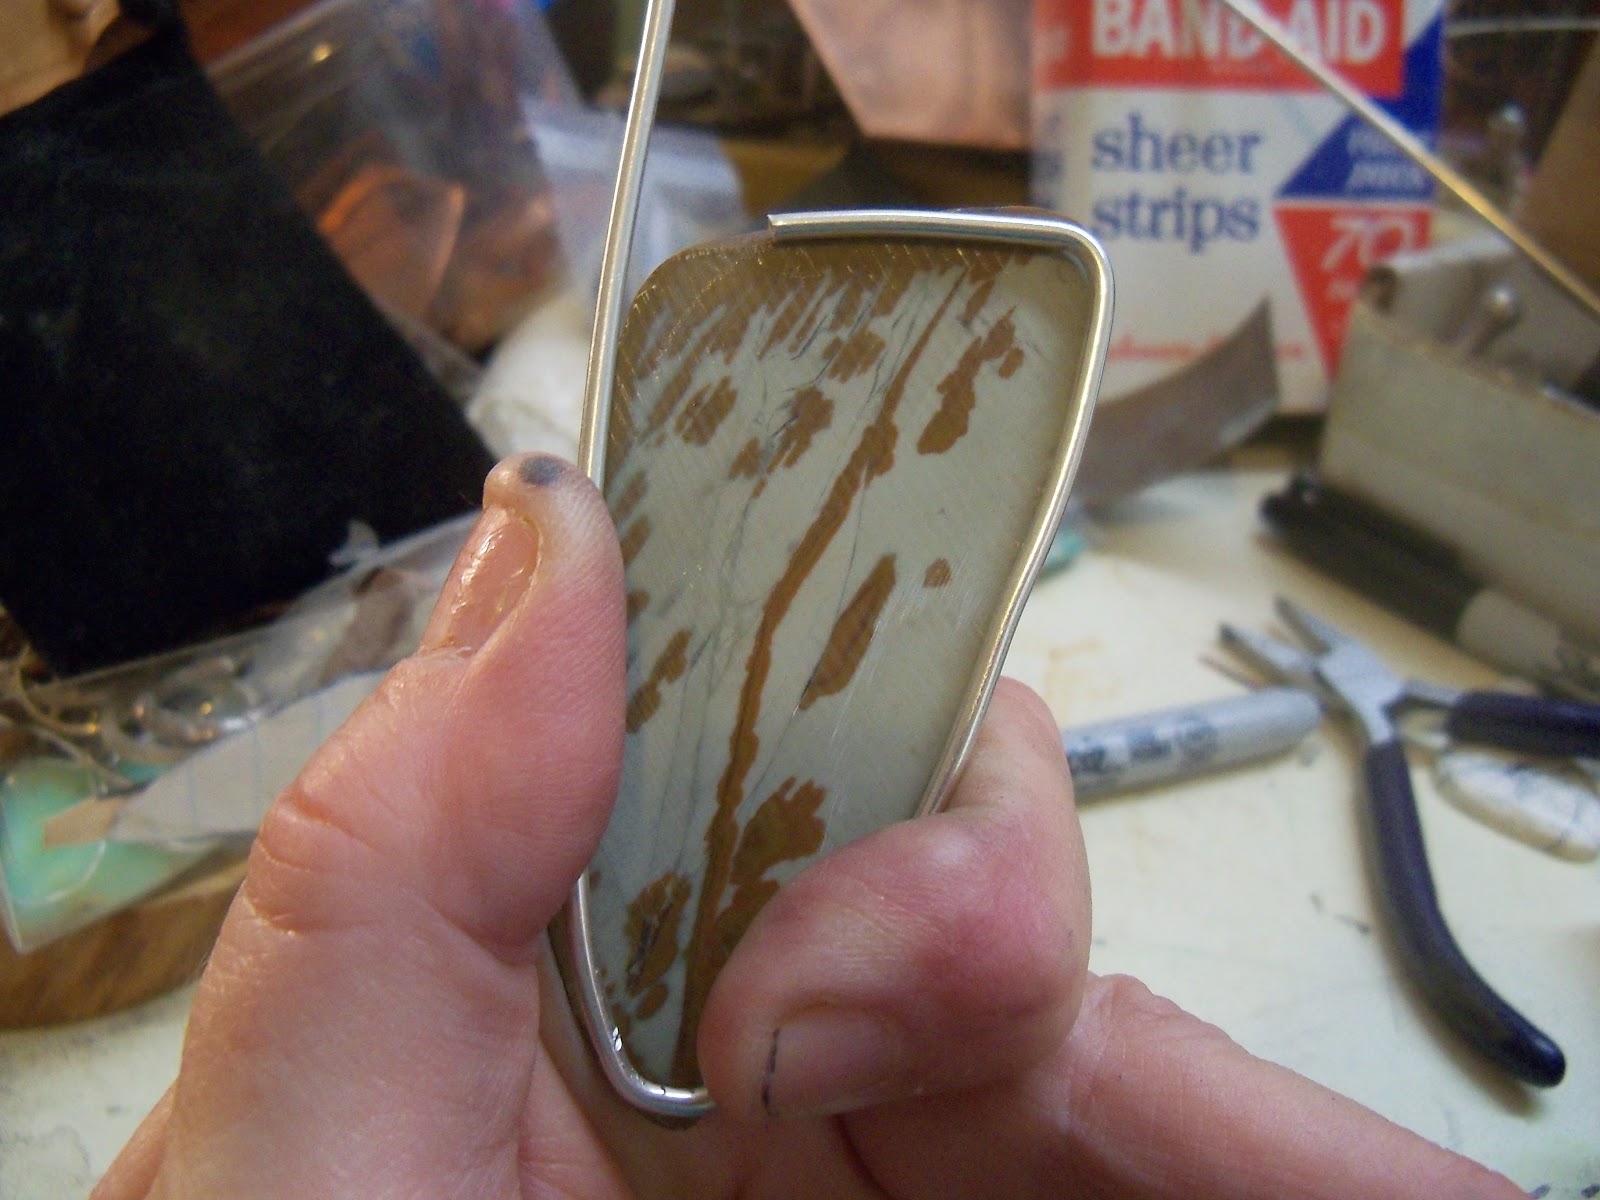
Like the marbelled look of the stone pieces and the way they are used to be gathered together,the colors used are also quite different and novel.Silver Charm Bracelet
Post a Comment